

Quick lead-in: why this framework matters
If you wire up yards and parks for a living, you want the consignment that shows up to be right — not a guessing game. This framework breaks down a straight, step-by-step QA plan electricians can use when they audit wholesale loads of fixtures like garden spike lights at the gate. It’s built for tradespeople: fast checks, clear pass/fail points, and tests you can run with a multimeter and a light meter. The goal is simple — cut rework, speed installs, and make sure the fixtures meet spec on lumen output, IP rating, and driver compatibility before they hit the truck.
Overview: what you should expect from a shipment
Before you open a crate, know what “good” looks like on paper. Shipping docs should list model numbers, quantities, lot codes, and certificates of conformity. Expect photometric info (lumen, beam angle, Kelvin), ingress protection (IP) rating, and driver specs. If the paperwork’s vague — stop the unpacking and call the supplier. That ambiguity is where most headaches start.
Pre-arrival checklist — what to prep
Have these on the van: a clamp meter, insulation resistance tester, a small lux meter, spare connectors, and the acceptance checklist. Confirm you’ve got the right tools to verify driver output and basic surge protection claims. Also, flag any items requiring ballast/driver match or a photocell — you don’t want surprises on the job site.
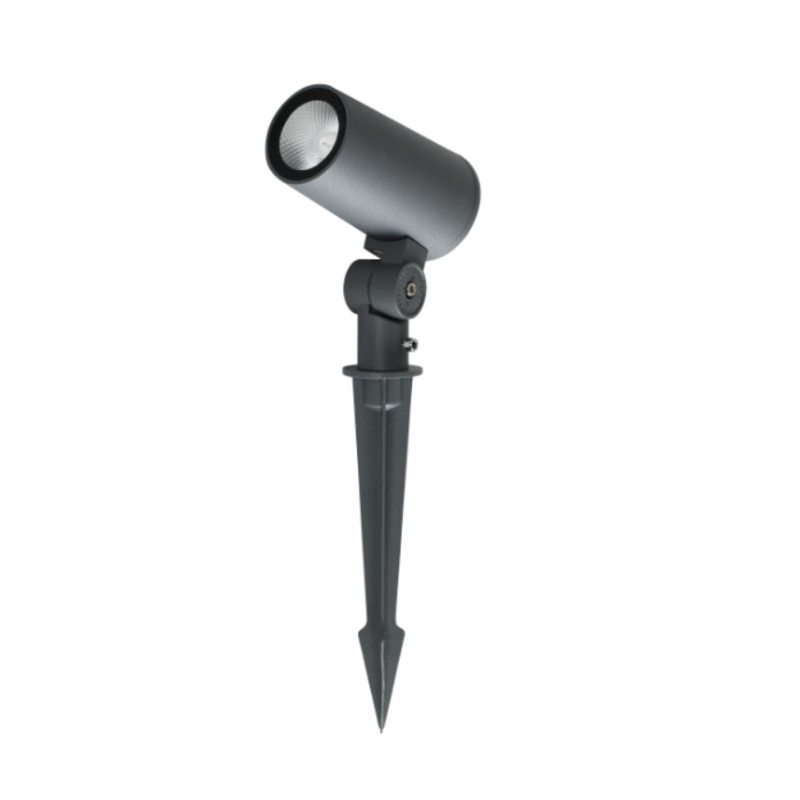
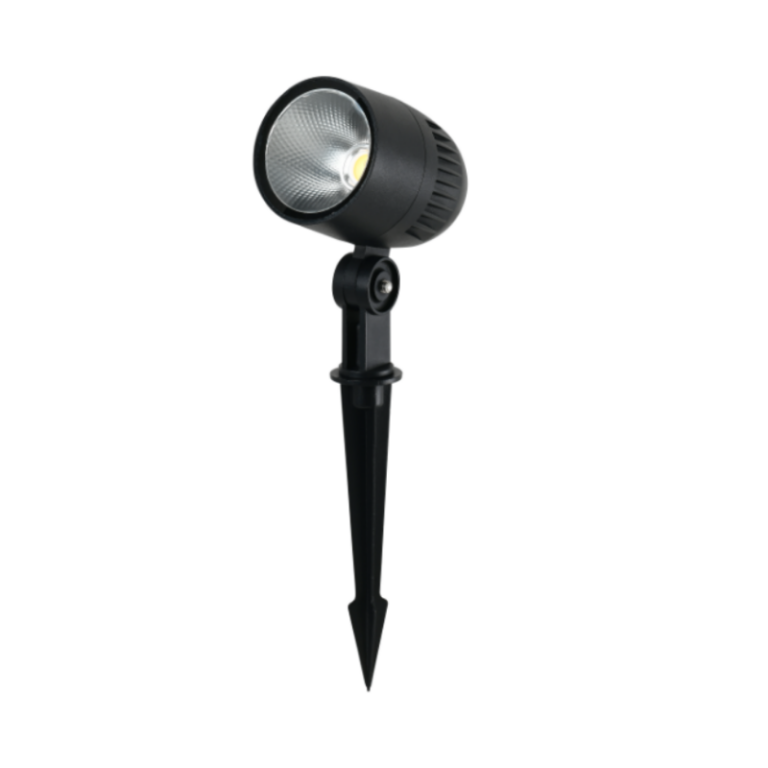
On-site inspection: quick visual and mechanical tests
Open one box per pallet and inspect these things first: physical damage to housings, glass or lens chips, and correct spike mount threads. Check for consistent finish and correct IP rating stamping (IP65/IP66 for most outdoor fixtures). Verify that the wiring access is correct for your conduit runs and that gaskets look intact. Then do a mechanical fit test — ensure the spike or mounting bracket aligns and locks without forcing it. If it’s tight or loose, that’s a fail.
Electrical checks and photometric spot tests
Power a sample fixture with a portable supply and measure these items: driver input current, open-circuit voltage at the fixture, and steady-state lumen output with your lux meter at a fixed distance. Confirm color temperature and CRI roughly match the spec — a quick visual against a reference lamp is often enough. For spot checks of fixtures meant for directional use — like a led landscape spotlight — verify beam angle and hotspot consistency. If driver humming, excessive warm-up drift, or flicker appears — tag the unit and isolate that lot.
Sample testing protocol and acceptance criteria
Use a sample size that covers production variance — typically 3–5% per lot, minimum three units. Define pass/fail thresholds up front: lumen ±10%, Kelvin ±200K, IP rating intact, and driver inrush within spec. Log serial or lot codes on each tested unit. Keep photos tied to test entries — they save arguments later. If more than 10% of sampled units fail, quarantine the shipment and escalate to the supplier for rework or replacement.
Documentation: the stuff that saves time later
Fill out a one-page inspection report per pallet: item code, lot, sample results, and immediate actions (accept, reject, quarantine). Attach the supplier paperwork and photos. When possible, get supplier sign-off on any deviations and a corrective action ETA. That paper trail protects you if a run needs warranty work or the retail client blames installation crews for factory defects.
Common mistakes crews make — and how to dodge them
They rush the inspection, assume all fixtures in a pallet are identical, or ignore driver specs because “it’ll work.” Don’t. Matching drivers to dimmers, checking terminal block torque, and confirming photocell wiring orientation are small checks that prevent big job delays — and they cost you barely any time on site. Also: don’t rely solely on packaging labels; open a unit and test. —
Field examples and standards to anchor the checks
Use IES recommendations and local codes (for example, California Title 24 where applicable) as your baseline for light trespass and energy targets. Those standards help when a supplier claims compliance — you’ll know exactly what to measure. In practice, projects in municipal parks often fail on light spill and color temp mismatch, not on basic IP or wattage — so pay attention to photometrics as much as to physical defects.
Final procedure for acceptance and corrective action
If the lot passes your sample checks, sign and accept with shipment notes. If it fails, quarantine, document, and notify the supplier with photos and test logs within 24 hours. Arrange a retest plan and, if necessary, a replacement shipment window. Keep your client informed — transparency avoids finger-pointing later.
Three golden rules (advisory close)
1) Measure before you install: validate at least one unit per pallet for lumen output, driver performance, and IP seal integrity. 2) Set clear, numeric acceptance criteria in writing — lumen ±10%, Kelvin ±200K, and driver inrush within spec — and stick to them. 3) Keep fast documentation: photo-stamped test logs and a signed one-page report will save days in dispute resolution.
When those rules guide your audits, you don’t just catch problems — you prevent them. For reliable fixtures and supplier consistency that make those checks faster, look to companies that publish detailed specs and test data — they make your life easier on every job. Keyida. —