
Introduction — a lab moment that sticks with me
I remember watching a grad student fumble with a knot of patchcords while a recording window slipped away—ugh, we’ve all been there. The scene is familiar: a bright idea, a tricky connection, and a small dataset that looks good until you dig deeper. I want to talk about that exact friction because it points right at the heart of the problem: how your fiber photometry system performs under real conditions (and why it often doesn’t).
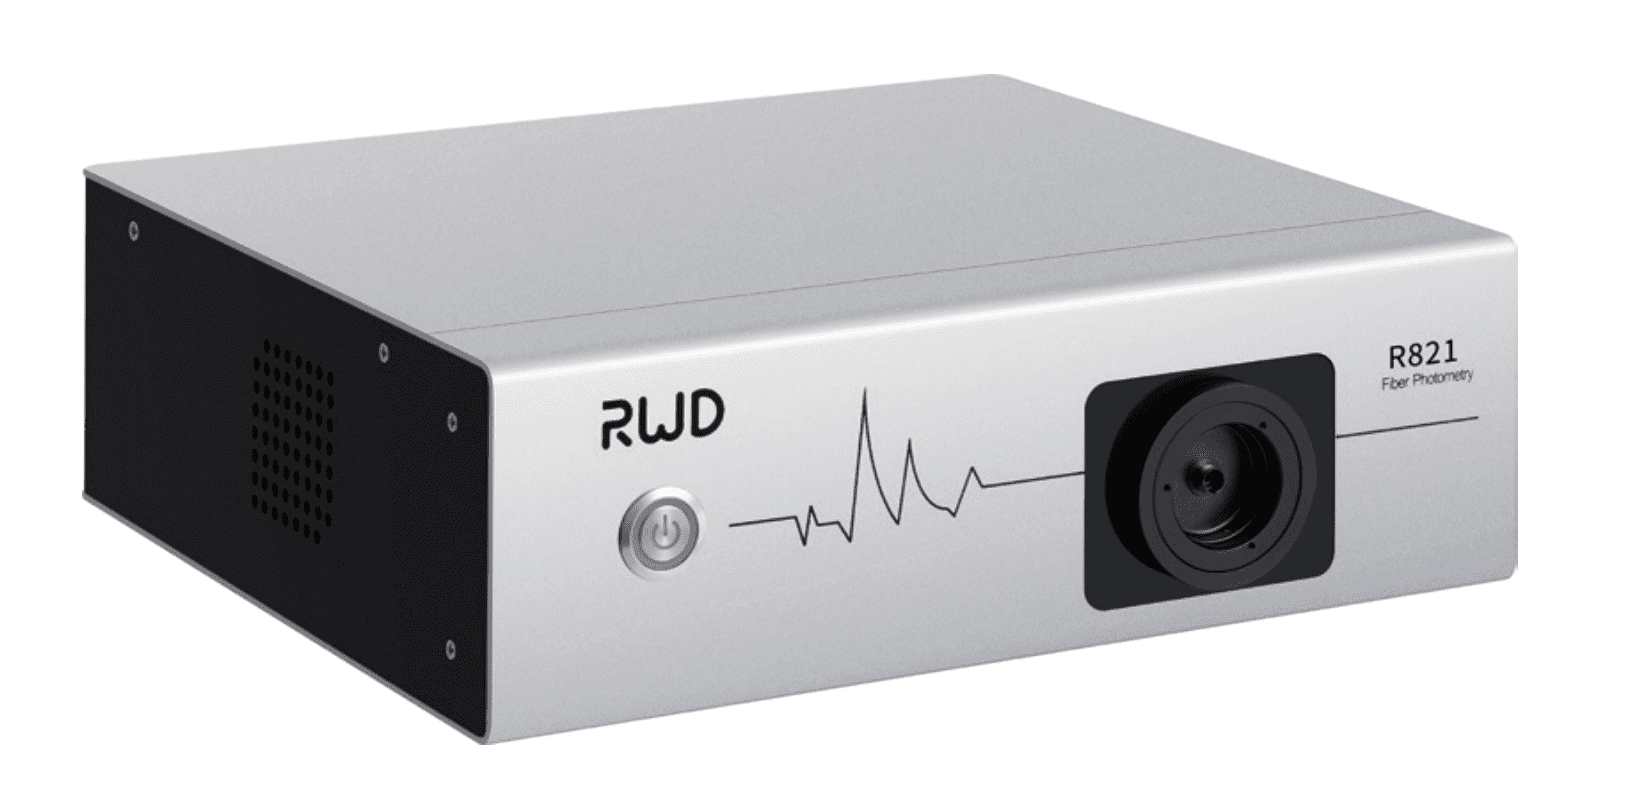
When I say fiber photometry system I mean the whole chain—laser or LED, fiber optics, headstage, photodetector, and the software that stitches it together. I’ve run dozens of sessions where a tiny tweak in excitation light or a mis-seated connector changed results. That’s frustrating, and honestly, it can feel personal when months of work hinge on signal quality. So here’s the question I keep asking myself and my peers: at what point do you stop patching problems and start upgrading for real reliability?
I’ll walk through where the pain really is, why the usual fixes fall short, and what to weigh next—short, practical notes and a few trade-offs I’ve learned the hard way. Let’s dive in—because a small change now can save you hours later.
Why traditional setups trip up fiber photometry mice experiments
Look, it’s simpler than you think: the classic rigs were built for flexibility, not repeatability. I’ve seen setups relying on loose fiber ferrules, legacy analog amplifiers, and basic photodiodes that introduce baseline drift and noisy traces. Those issues hide behind pretty traces until you run a batch analysis and the variance explodes. In technical terms: poor control of excitation light, fiber bending losses, and inadequate analog-to-digital conversion can wreck your signal-to-noise ratio and fluorescence quantification.
In our lab, a recurring failure mode was mechanical—tiny motions at the headstage creating microphonic artifacts. We patched it with heavier mounts and foam, but the root cause stayed: system-level mismatch between fiber connectors and the animal headstage. Then there’s software: many acquisition suites lack real-time baselining or robust demodulation for multiplexed signals. The result? You chase artifacts instead of biology.
Which part hurts the most?
If I had to pick, it’s the integration points: connector — headstage — detector. Each transition adds a potential loss or noise source. Terms to keep in mind here: optogenetics cross-talk, emission filter alignment, and photodetector bandwidth. We underestimated how small mismatches compound. — funny how that works, right?
Also, a lot of published “solutions” assume users have a clean bench and ideal mice. Real labs deal with gnarly realities: cage schedules, uncooperative animals, and tight timelines. That mismatch between lab life and vendor demos creates a gap that simple upgrades don’t always close. So before you buy a faster ADC or a brighter LED, ask: will this change the integration points or just paper over them? I’ve learned to test at the system level, not the component level.
New technology principles for more reliable recordings
Moving forward, I focus on principles more than parts. For next-gen rigs I prioritize modular standardization, active stabilization, and smarter signal processing. For example, using fiber ferrules with repeatable keying reduces connector variability. Active feedback on excitation intensity (closed-loop control) keeps fluorescence stable across long sessions. These are not rocket science, but they are system-minded—excitation control, emission filtering, and real-time demodulation matter together.

When planning upgrades, think about the whole path—fiber optics to photodetector to software—and how each piece talks to the rest. I’ve started specifying components that report metadata (LED current, digitizer bit depth, filter IDs). That makes troubleshooting faster and keeps experiments reproducible. Also, consider compact headstages that lower mass and reduce motion artifacts; they really help with chronic recordings in behaving fiber photometry mice studies.
What’s next for labs wanting to scale?
Adopt standards (mechanical and data), test under realistic loads, and pilot with a single animal cohort before rolling out. I try small validation sets—run a week of sessions and analyze variance—then decide. And yes, unexpected things happen—little puzzles that teach you faster than manuals. — unexpected, but valuable.
To wrap up, here are three practical evaluation metrics I use when choosing upgrades: signal-to-noise ratio improvement (quantified across sessions), connector repeatability (measured as variance in baseline fluorescence after reconnection), and system metadata richness (how much you can trace back when things go wrong). Apply these, and you’ll pick changes that matter.
For labs that want tools built with these trade-offs in mind, I recommend checking suppliers that support system-level thinking and clear metadata. And if you want a practical starting place, look into integrated solutions that were designed with behavior experiments in mind—tools that consider headstage mass, photodetector specs, and acquisition software together. BPLabLine